Interval Training on a Bike: Burn More Calories

This post contains affiliate links. This means I will make a commission at no extra cost to you should you click through and make a purchase. Read the full disclosure here.
Short bursts. Big results. No gym required.
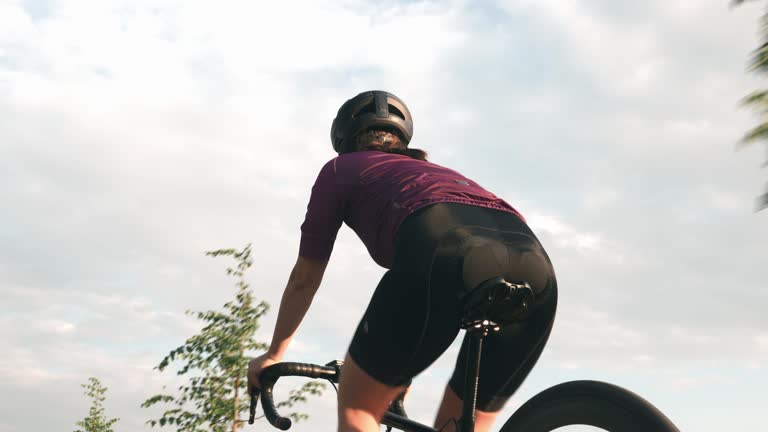
If you’ve been riding regularly and are ready to level up without adding hours to your workout—welcome to intervals.
Interval training is one of the most effective ways to burn more calories in less time.
It sounds intense, but it’s actually beginner-friendly and totally customizable to your fitness level.
Let’s break it down.
What Is Interval Training?
At its core, it’s a back-and-forth rhythm:
- A burst of effort (you work a little harder than usual)
- Followed by recovery (you ease back and catch your breath)
- Repeat.
Think of it like dance cardio—but on your bike.
These “intervals” challenge your body just enough to boost calorie burn, build endurance, and improve your overall fitness faster than steady rides alone.
The Benefits (Especially for Women)
💡 Burn more calories even after your ride—thanks to the afterburn effect
💡 Strengthen your heart and boost metabolism
💡 Improve endurance for longer, easier rides later
💡 Break boredom with a ride that keeps changing pace
And best of all? You can do it in under 30 minutes. No need to carve out your entire morning.
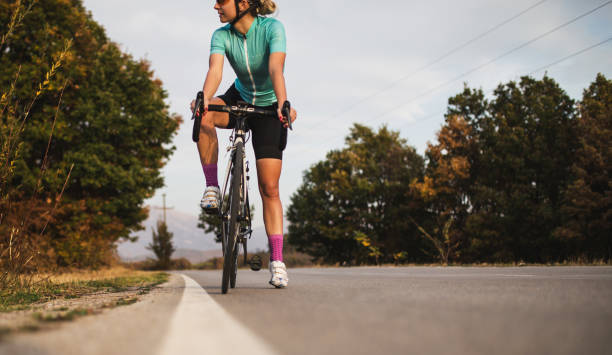
Try This Beginner Interval Ride
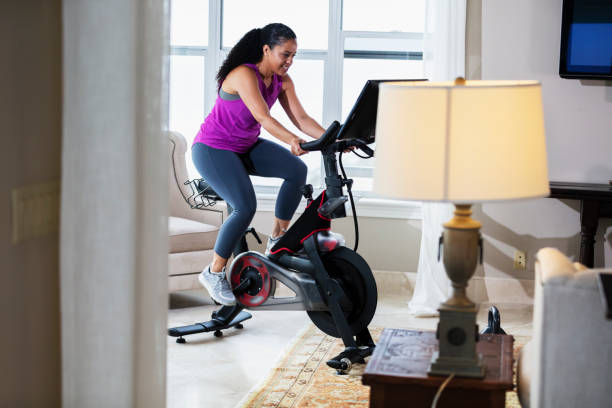
No need to overthink it—this can be done on a road, trail, or stationary bike.
Warm-Up (5 minutes):
Ride at a chill pace. You should be able to sing along to your playlist.
Intervals (20 minutes):
Alternate between:
- 1 minute faster pace (you’re working—you can talk, but not easily)
- 2 minutes slower pace (easy cruising, full recovery)
Repeat this cycle about 6–7 times.
Cool Down (5 minutes):
Slow it way down. Breathe. Stretch when you’re done.
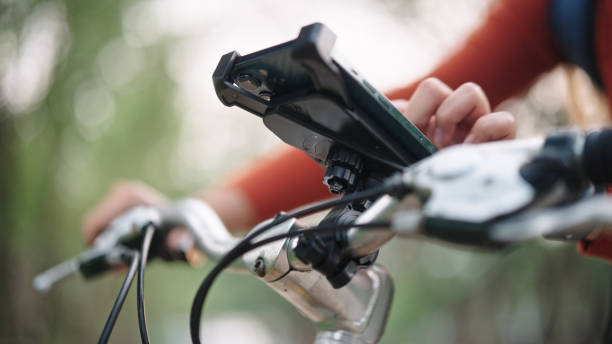
👉 A smart way to time your intervals is with this interval timer watch or a cycling app like Strava or MapMyRide.
What You’ll Need
Here’s the gear that helps:
✔️ A helmet (safety first—this one’s lightweight and cute)
✔️ Padded bike shorts (this pair is beginner budget-friendly)
✔️ A water bottle—you’ll need it for intervals! (this one fits standard cages)
✔️ A fitness tracker to keep an eye on your heart rate (this one does heart rate + distance)
Quick Tips for Interval Success
- Don’t skip your warm-up. Your muscles will thank you.
- Keep your “hard” intervals challenging—but doable. You shouldn’t be gasping.
- If you’re sore or tired, adjust the pace or shorten the set.
- Recovery is part of the work—don’t rush it.
You can start with 15 minutes and build up.
Your body will adapt, and soon you’ll feel stronger—and faster.
Make It Your Own
Feeling good? Try changing up:
- Your interval length: 30 seconds fast / 1-minute rest
- Your terrain: flat paths, small hills, or light gravel
- Your bike: this foldable stationary bike is perfect for indoor interval rides
And yes—you can totally blast your favorite playlist while you’re at it.
Final Thoughts
Interval training sounds intense, but in practice?
It’s just riding smart.
Small bursts. Big impact.
And the best part is, you’re in full control the entire time.
Start where you are.
Push when you can.
Recover like a queen. 👑